If you have ever wished you could keep the soul of an image while completely reimagining its style, image to image technology might be the missing piece. For a long time, creative work felt like a choice between two uncomfortable options: preserve the original picture and accept tedious manual edits, or hand everything over to an AI that erases your carefully composed structure and prays for pleasant randomness. The frustration builds silently — you know a certain mood, a specific texture, or a new light could unlock the visual story, yet the path there remains blocked. What shifts the equation is a workflow that treats your uploaded photograph, sketch, or render not as a throwaway seed but as a creative anchor. Toimage AI, built around a multi-model routing philosophy, rewards this very instinct: your source image stays intact at the core while specialized engines reinterpret it based on the words you choose.
Why Your Starting Image Finally Gets a Say
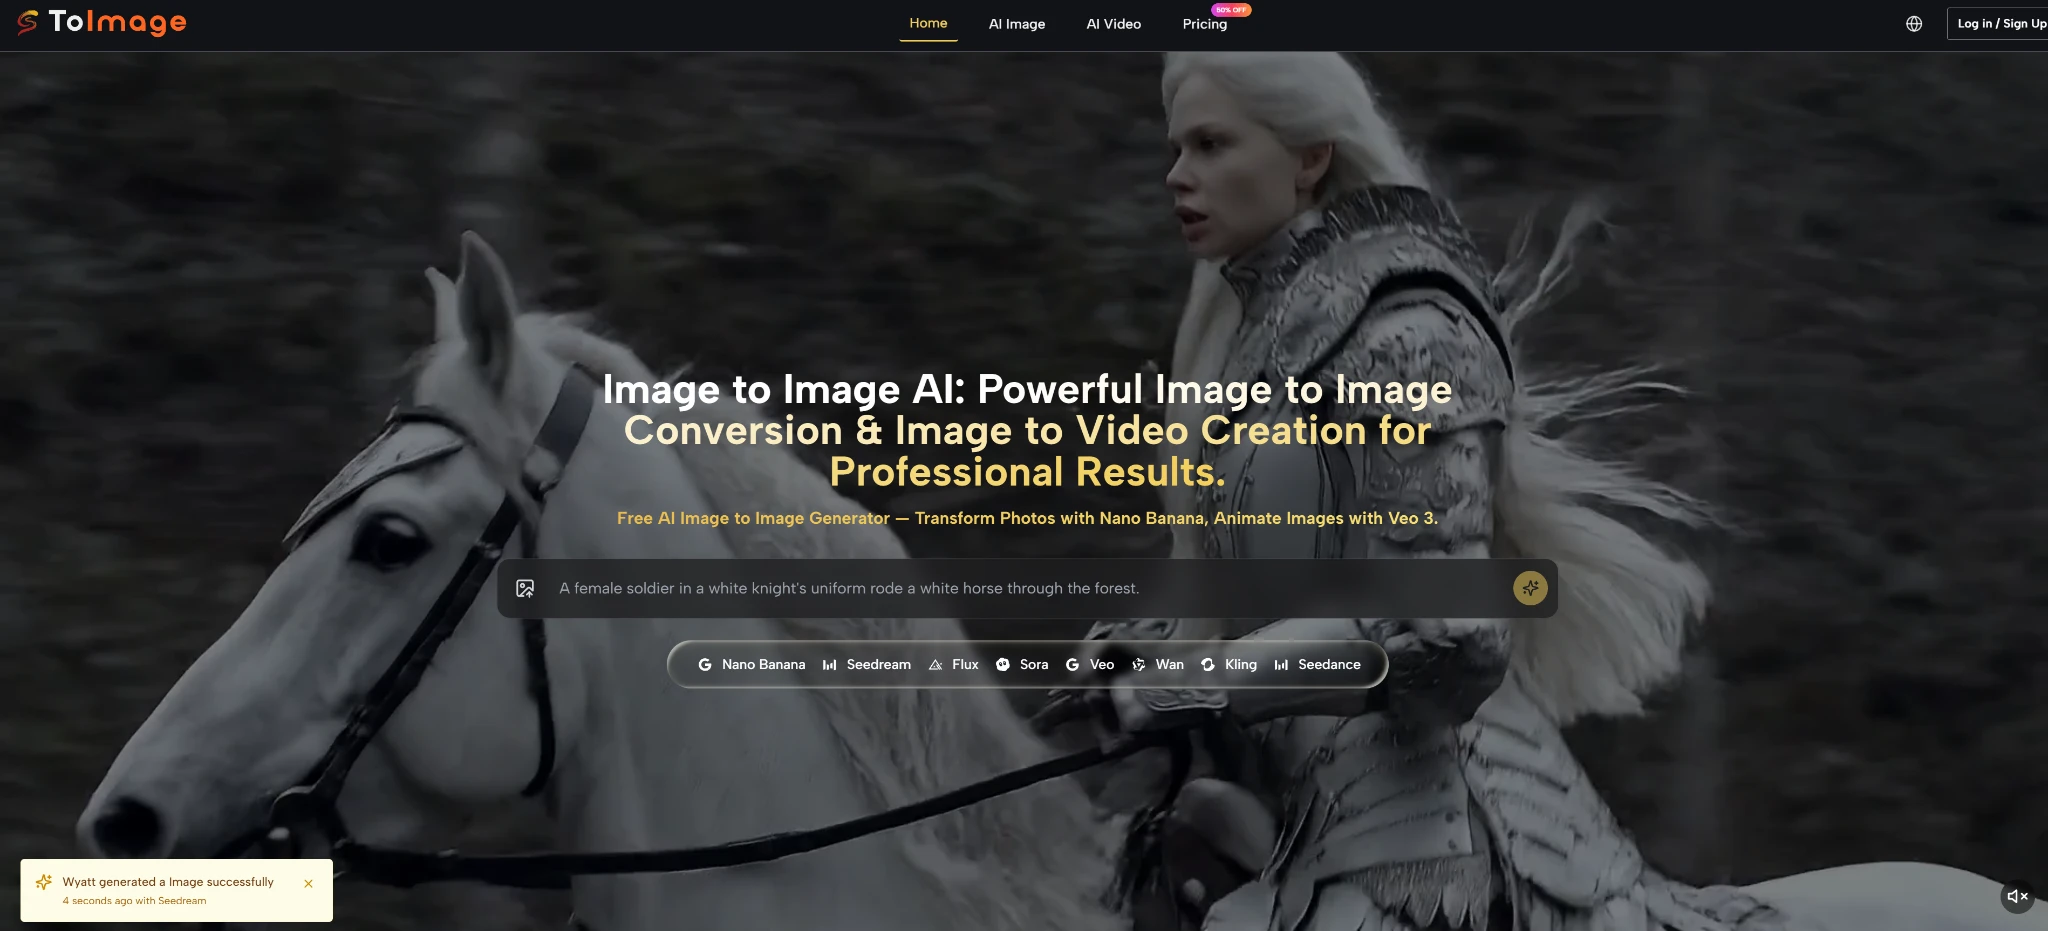
Most generative tools operate on a principle of pure noise. You feed in text, and the model builds something from scratch; any reference image gets dissolved into latent space with unpredictable fidelity. Toimage AI takes a different road. It keeps the structural blueprint of your uploaded visual front and center. When you upload a room mockup and ask for “the same layout, but flooded with golden-hour sunlight and a mid-century tone,” the furniture placement, perspective, and spatial relationships tend to remain remarkably faithful. This is not a simple overlay filter. In my early experiments, the framework appeared to understand the difference between surface texture and underlying geometry — a distinction that makes the output usable rather than merely novel.
Over several weeks of daily use, I noticed that the platform’s strength lies in its model router. Instead of forcing you to adapt to a single neural network’s aesthetic habits, it offers access to engines such as Nano Banana, Seedream, and Flux, each with a distinct visual personality. Nano Banana, for instance, was my go-to for rapid, stylized transformations like turning a product shot into a pop-art statement. Flux, on the other hand, proved far more precise when I needed to maintain realistic materials and lighting while changing only the environment. The ability to switch engines without leaving the same tool felt less like a feature list and more like walking into a shared studio where different artists look at the same reference and bring their own brushstrokes.
Selecting the Engine That Matches Your Vision
Your creative control deepens when you realize that model choice is not a mere technical setting; it is a storytelling decision. The following comparison, drawn from my own back-to-back testing, outlines how a multi-model routing approach differs from relying on a single monolithic generator or a traditional editor.
| Aspect | Single-Model AI Generators | Toimage AI Multi-Model Routing |
| Structure Preservation | Frequently discards the original layout after initial processing | Treats the uploaded image as a persistent structural backbone |
| Aesthetic Flexibility | Confined to one engine’s default visual signature | Lets you pivot between Nano Banana, Seedream, Flux, and others |
| Iterative Refinement | Can produce inconsistency with each new generation | Maintains compositional continuity while adapting to prompt tweaks |
| Prompt Sensitivity | Often rewards generic descriptions; specific guidance may confuse | Rewards layered, intentional prompting with more predictable outcomes |
What this table reflects is not theoretical superiority but a practical difference in the shape of the creative process. When I used a single-model tool, I often had to compromise on either the atmosphere or the spatial accuracy. With Toimage AI, I could first run a dreamlike version through Seedream to discover an unexpected palette, then route the same base image through Flux to tighten the realism without losing the newly found mood.Different AI tools serve different purposes, and platforms built for social media content creation, like Predis AI, complement image-generation workflows by simplifying branded content production.
Your First Image-to-Image Workflow in Four Steps
The workflow on the platform mirrors the intuitive sequence most creatives naturally follow, yet under the hood it orchestrates complex model switching with minimal friction. The process outlined below is exactly what the official tool flow presents, refined through my repeated use.
Step 1: Upload Your Starting Image
The entire transformation rests on the quality and clarity of your source. Without a well-framed original, even the best model will struggle to produce something coherent.
Why a Strong Source Acts as a Silent Brief
Your uploaded image communicates constraints that words alone cannot easily capture — perspective, composition, the relationship between objects. In my tests, feeding a sharply lit, front-facing subject gave the AI enough spatial information to produce variations that still read as the same scene. A cluttered or heavily compressed photo, by contrast, introduced visual noise that the models had to fight against. I learned to treat this initial upload as the most important creative decision, not a mere file select dialog.
Step 2: Select the Right AI Model
Model selection is where you decide the visual language. The platform lists available engines clearly, and switching between them is immediate.
Matching the Model to Your Creative Goal
From my hands-on sessions, Nano Banana excelled at bold stylistic leaps — watercolor, comic book, neon-soaked cyberpunk — while Flux delivered when I needed to preserve material textures and realistic shadows. Seedream occupied a middle ground, often producing painterly, softly lit reinterpretations that worked well for mood exploration. I made it a habit to run the same image through two models and compare; the difference was rarely subtle, and the better choice always aligned with the emotional register I was aiming for.
Step 3: Describe Your Transformation
The text prompt translates your intent into machine-readable guidance. This is not about typing a single keyword but about painting a concise scene with words.
Crafting Prompts That Guide, Not Confuse
My most successful prompts followed a simple internal structure: preserve what matters, change the atmosphere, and reference a visual tradition. For example, “Keep the original composition but turn the lighting into moody film noir, wet streets, strong rim light, no color shift on the subject’s face” consistently outperformed vague phrases like “make it dramatic.” Over time, I noticed that specifying light quality and a reference era gave the models a much tighter creative brief. The few times I was sloppy with words, the output felt generic — a fair reflection of the input rather than a tool failure.
Step 4: Generate and Refine
Hitting generate delivers a first draft that rarely represents the final vision. Iteration is built into the natural rhythm of the platform.
The Art of Iteration in a Few Judicious Rounds
In my experience, the first output typically captured the broad strokes correctly but occasionally missed a subtle detail — a reflection that didn’t sit right or a texture that read as plastic. Rather than starting over, I tweaked a single phrase in the prompt or toggled to a different model. Usually within two or three rounds, the result snapped into place. This loop felt productive, not frustrating, because each generation remained anchored to the same source image. It was more like developing a photograph than rolling dice.
Navigating the Honest Limits of AI Transformation
Clarity about what the tool does not do perfectly is essential for building trust. In several scenarios — particularly when the prompt asked for complex object interactions or precise human anatomy at extreme angles — the initial output could drift into uncanny territory. Fingers might merge, or a window reflection might float disconnected from its source. These outcomes were not frequent, but they did appear, especially when my wording was ambiguous or the source image had low contrast. The resolution became almost always a matter of refining the prompt or switching models, not an unsolvable dead end.
Another practical limit worth mentioning: the free tier on the platform imposes a generation cap that encourages a thoughtful workflow rather than blind experimentation. Once you exceed the quota, you will need to consider the paid plan for continued heavy use. This mirrors the broader reality observed in recent generative AI research, such as discussions at machine learning conferences in early 2025 that highlighted how ensemble-style model routing often yields higher-fidelity results but still faces challenges with extreme edge cases. Acknowledging these edges made my overall experience feel grounded. The tool is a powerful creative amplifier, not a magic wand that replaces visual literacy.
Making Image-to-Image Part of Your Daily Process
After integrating this image-to-image workflow into my routine, I noticed a subtle but meaningful change: I started treating photographs and sketches as open-ended starting points rather than finished artifacts. A quick snapshot from a walk could become a background plate for a design pitch. A rough thumbnail could evolve into a polished style frame within minutes. The bottleneck shifted from the labor of execution to the clarity of my own vision — a shift that professional creatives I spoke with recognized as genuinely useful.
Toimage AI does not seek to replace your eye or your taste. What it provides is a fast, flexible dialogue between your source material and a set of specialized AI engines. The process respects what you bring while offering visual directions you might not have considered. If you approach it with a clear intent, a willingness to refine, and an understanding of its current limitations, you are likely to find that the gap between your imagination and the image in front of you shrinks faster than you expected.